- Step 1: Create a stream key
- Step 2: Broadcast to Aurora Live Video Service
- Step 3: View Your Live Stream
- Step 4: View Live Stream Input Health
This topic describes how to set up your first live stream quickly.
Step 1: Create a stream key
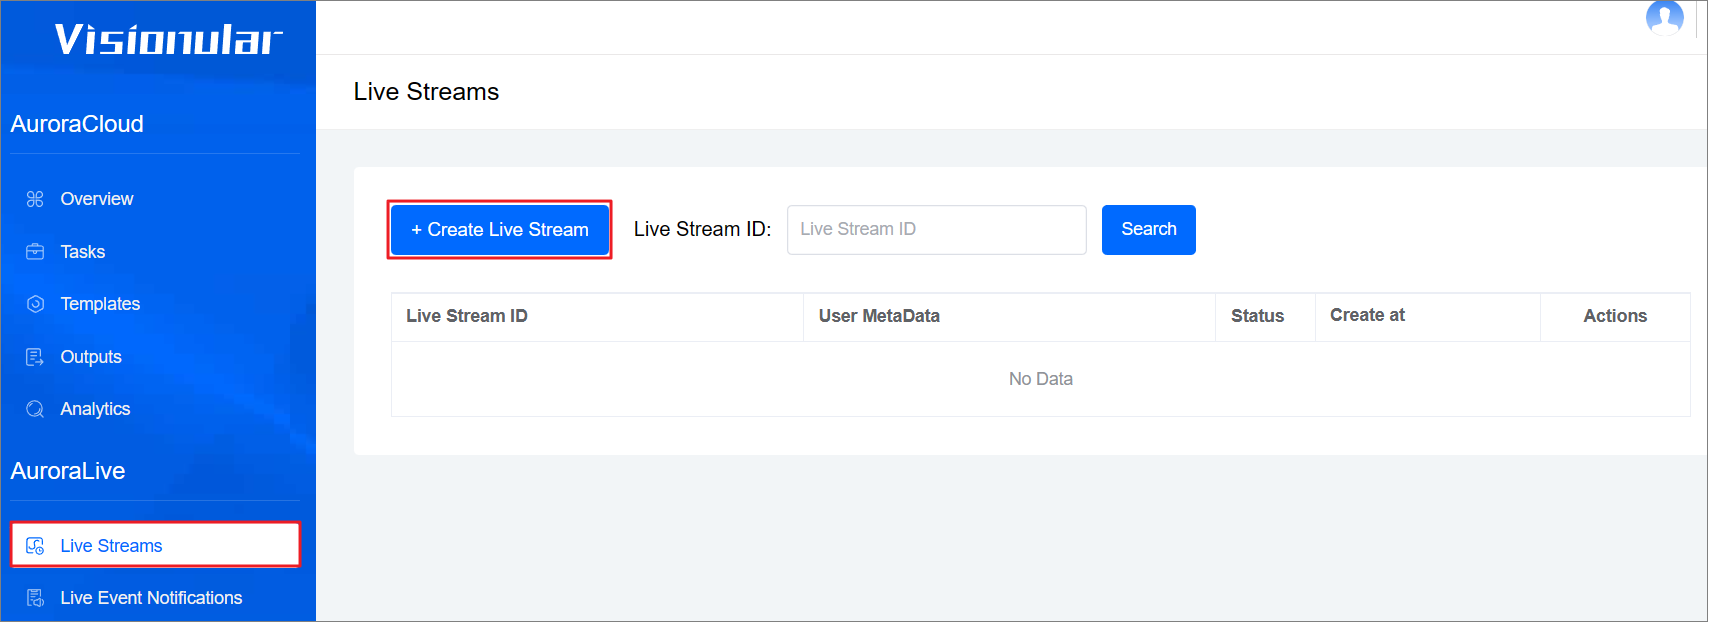
Log in to the AuroraLive console.
In the left navigation pane, choose Live Streams.
Click + Create Live Stream.
(Optionally) specify User Metadata. User Metadata is not unique, but it provides a way for you to distinguish live streams in a way that is different than the Stream ID.
Requiring playback authorization is optional. When a viewer tries to watch a stream, if the live stream has authorization enabled, AuroraLive verifies that the viewer has a valid playback token in the request.
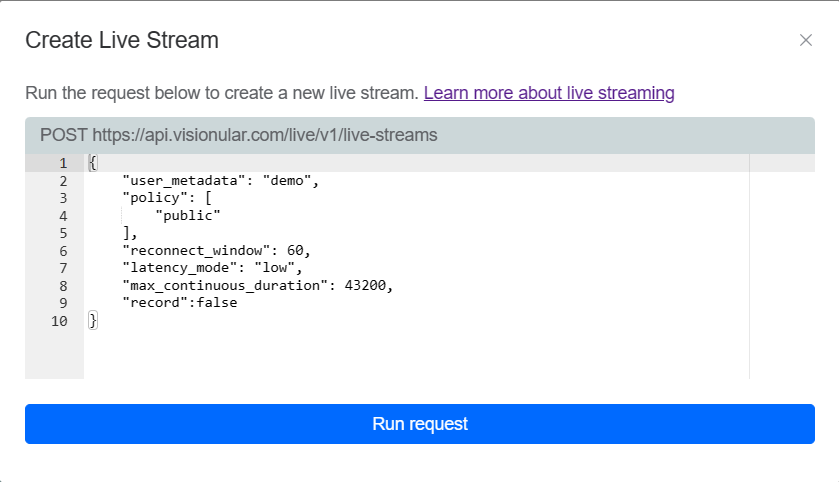
Click Run request to Create a live stream.
Step 2: Broadcast to Aurora Live Video Service
Aurora Live Video Service supports live streaming using the RTMP protocol, You can use any streaming software that supports RTMP (OBS,Wirecast,XSplit,vMix and FFmpeg).
Streaming with OBS Studio
(OBS Studio) is a free and open source software for video recording and live streaming.
Follow these steps to start streaming with OBS Studio:
Download and install the software: https://obsproject.com/download.
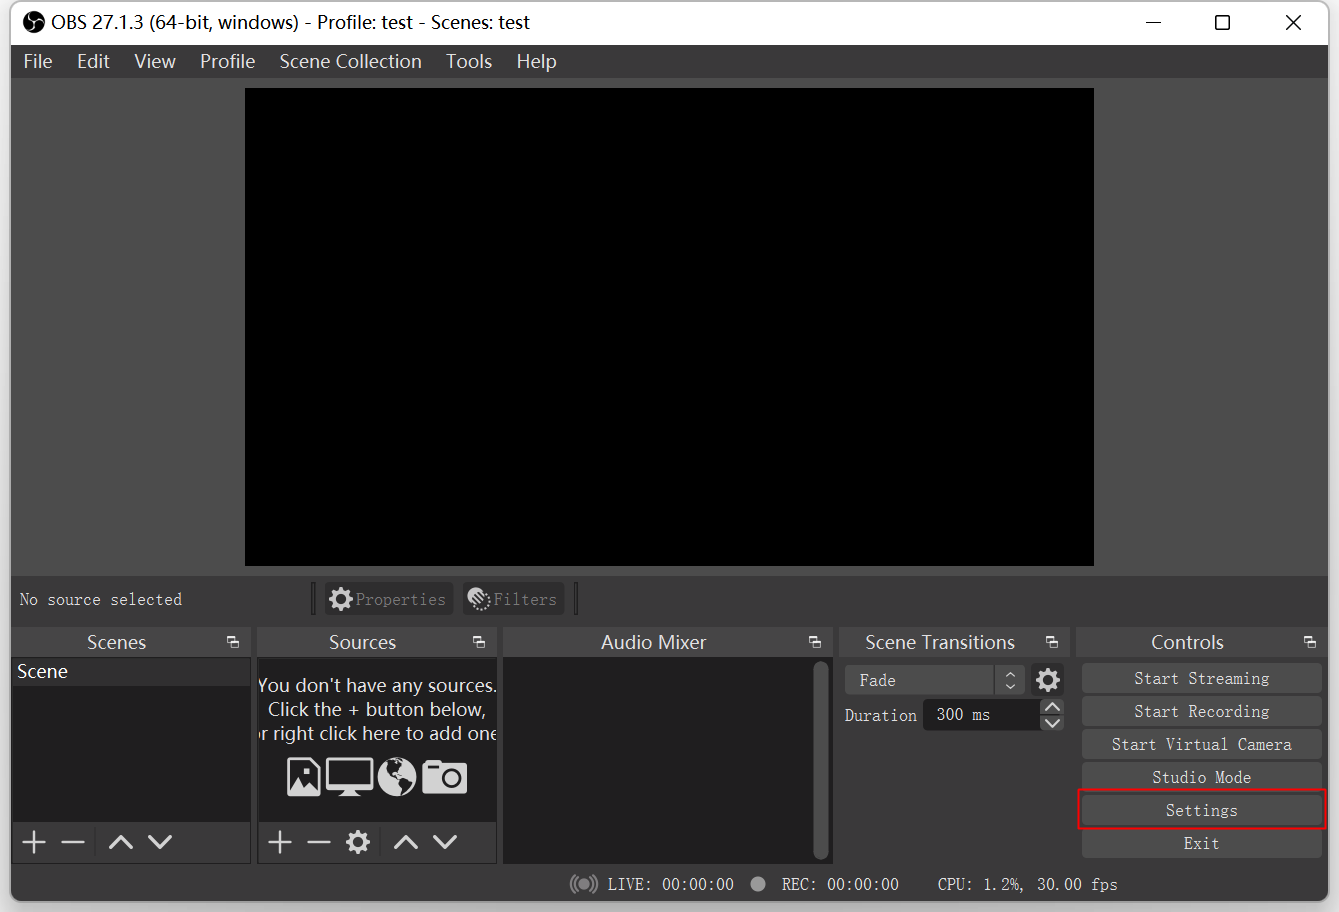
Open the OBS Studio settings by clicking the “Settings” button in the bottom-right area of the application window.
OBS Stream Settings
Click on the second tab labeled “Stream” in the OBS Studio settings window. For “Service” you should see “Custom…” by default. If not, please select it. Next, you need to enter the Server and Stream Key.- The Server you enter in OBS is the “RTMP URL options” under “Live Streams / Live Stream Detail” in the Visionular Console:
rtmps://global-ingest-live.visionular.com:443/live - The Stream key you enter in OBS is the Stream key from the Console , e.g.
28e438bf-20a8-4997-84b4-0b580f50c33a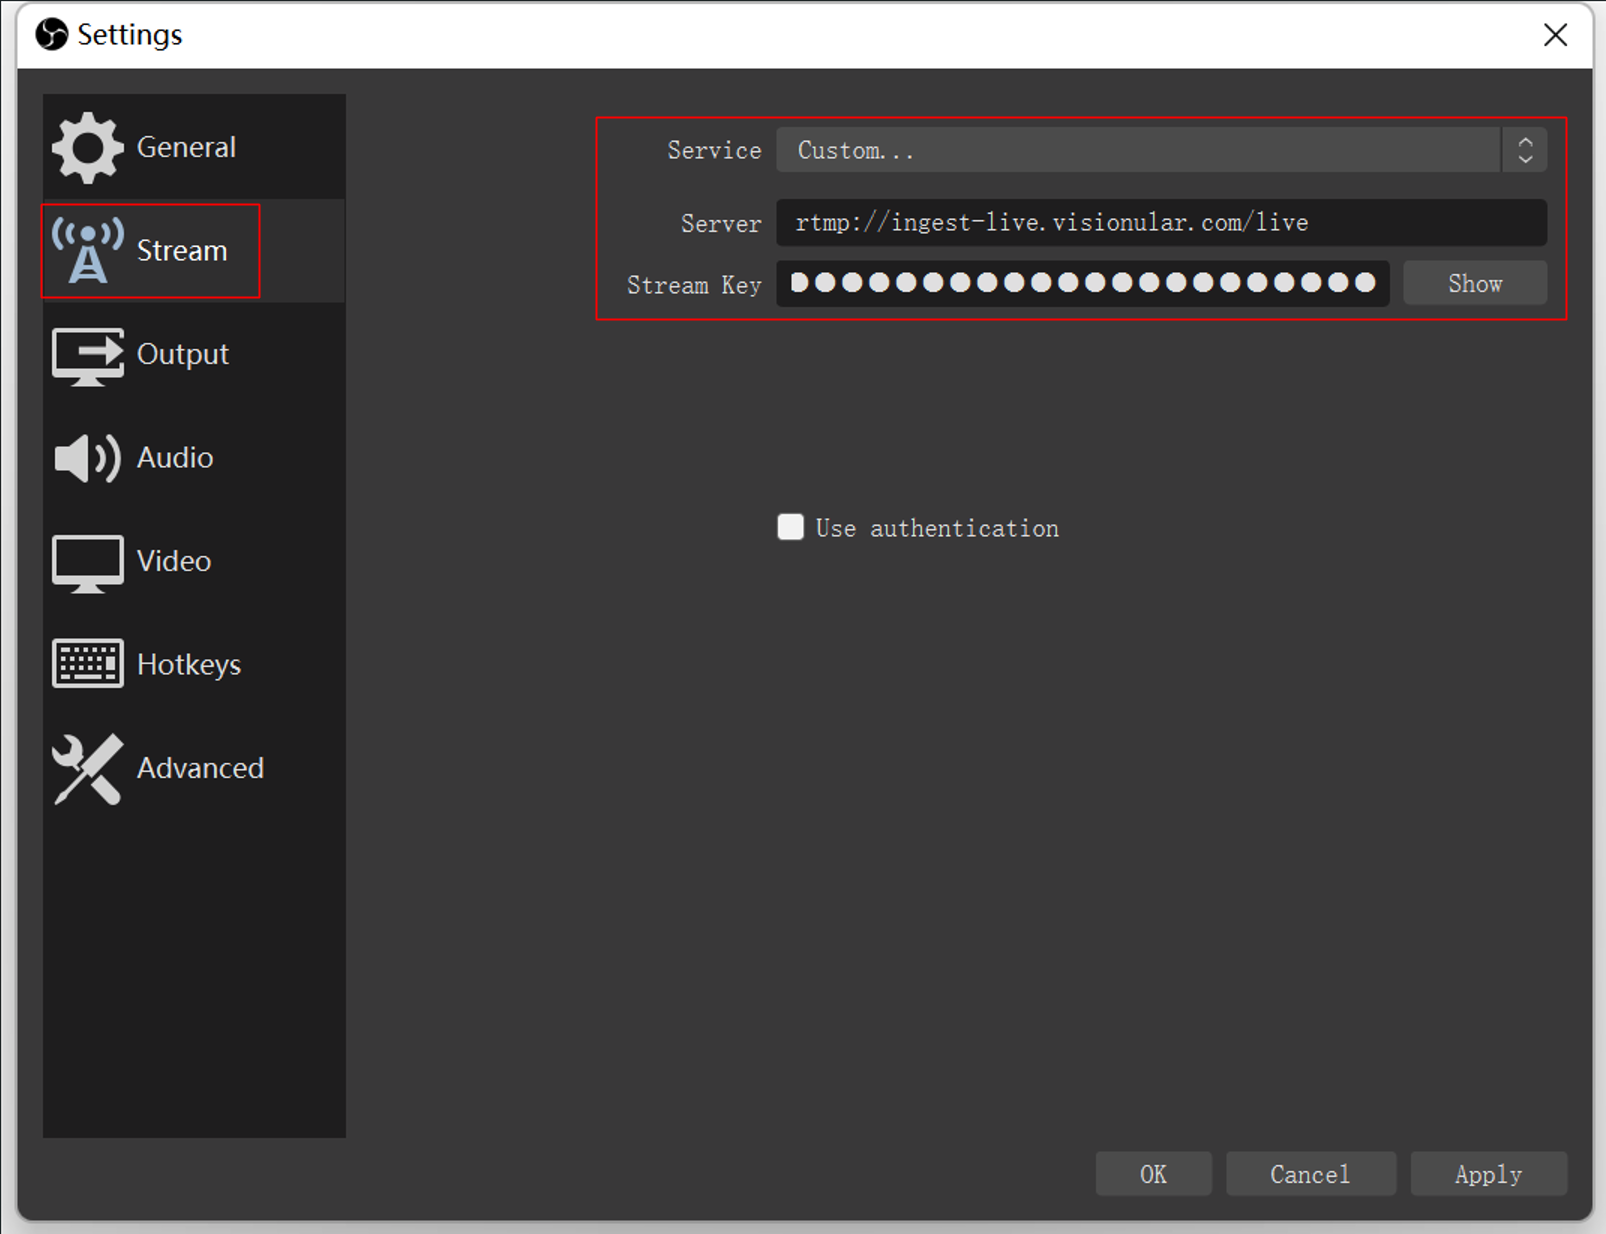
- The Server you enter in OBS is the “RTMP URL options” under “Live Streams / Live Stream Detail” in the Visionular Console:
OBS Output Settings
Click on the next tab labeled “Output” in the OBS Studio settings window. these recommended settings will look like the following: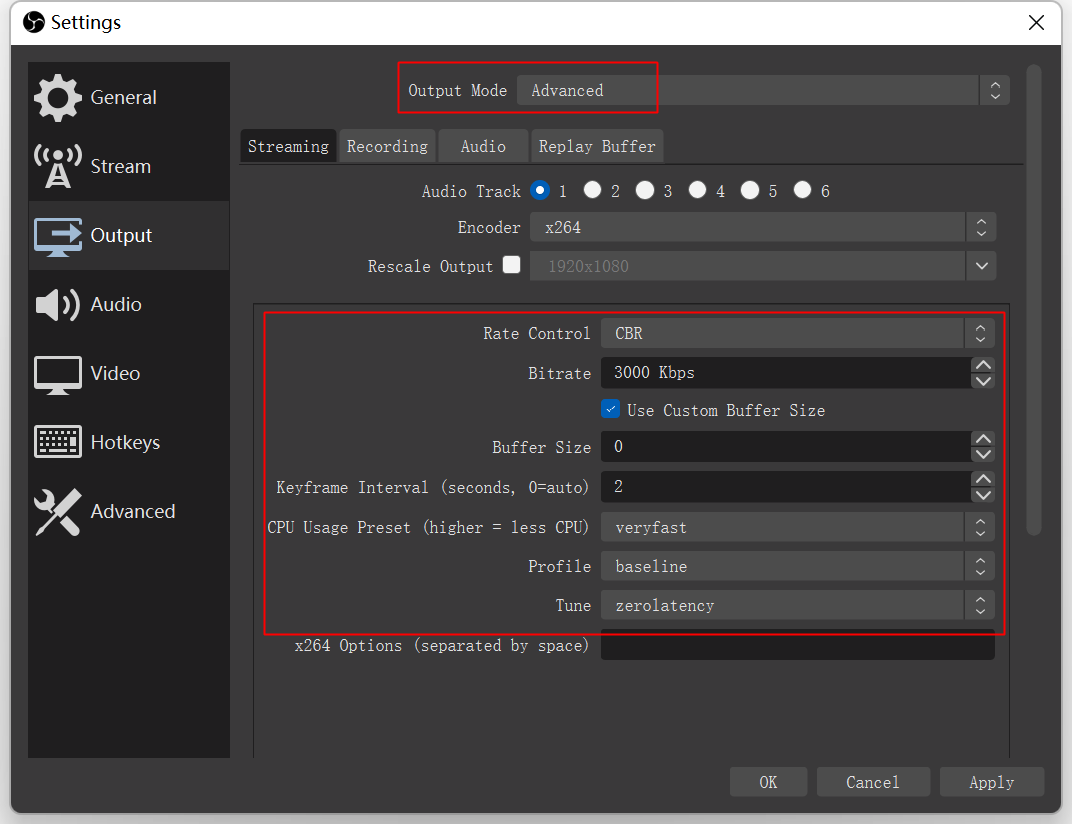
OBS Video Settings
Click on the tab labeled “Video” in the OBS Studio settings window. these recommended settings will look like the following:
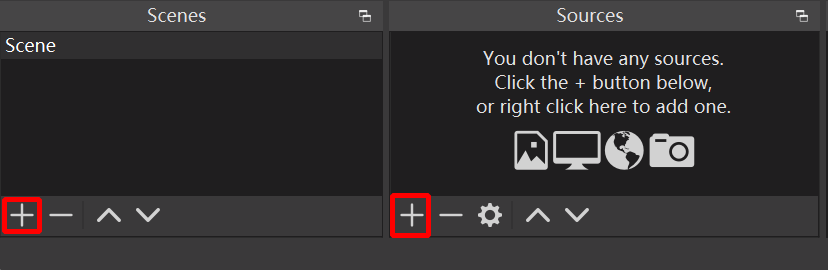
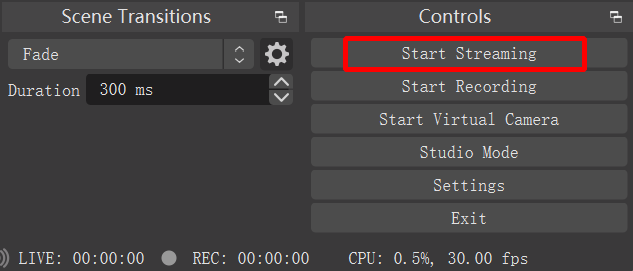
Add your sources and scenes.
Once all these settings are done, choose Start Streaming and it will start streaming your content to Aurora Live Video Service directly.
For more on streaming with OBS Studio, see OBS Studio Overview.
Step 3: View Your Live Stream
Add the Playback ID to stream.visionular.com to create an HLS URL. (or copy the Playback URL from the AuroraLive console)
https://stream.visionular.com/{PLAYBACK_ID}.m3u8
Aurora Live Video Service’s LL-HLS Live Streams work with native iOS players, making it available on all Apple devices, with no additional player work required. However, you are free to use any player that supports LL-HLS.
Here are some other popular players that we have seen:
- AVplayer: iOS 15 is the most robust implementation
- Android's Exoplayer: 2.14.0 and up
- THEOplayer: 2.84.1 and up
- HLS.js: 1.0.11 and up
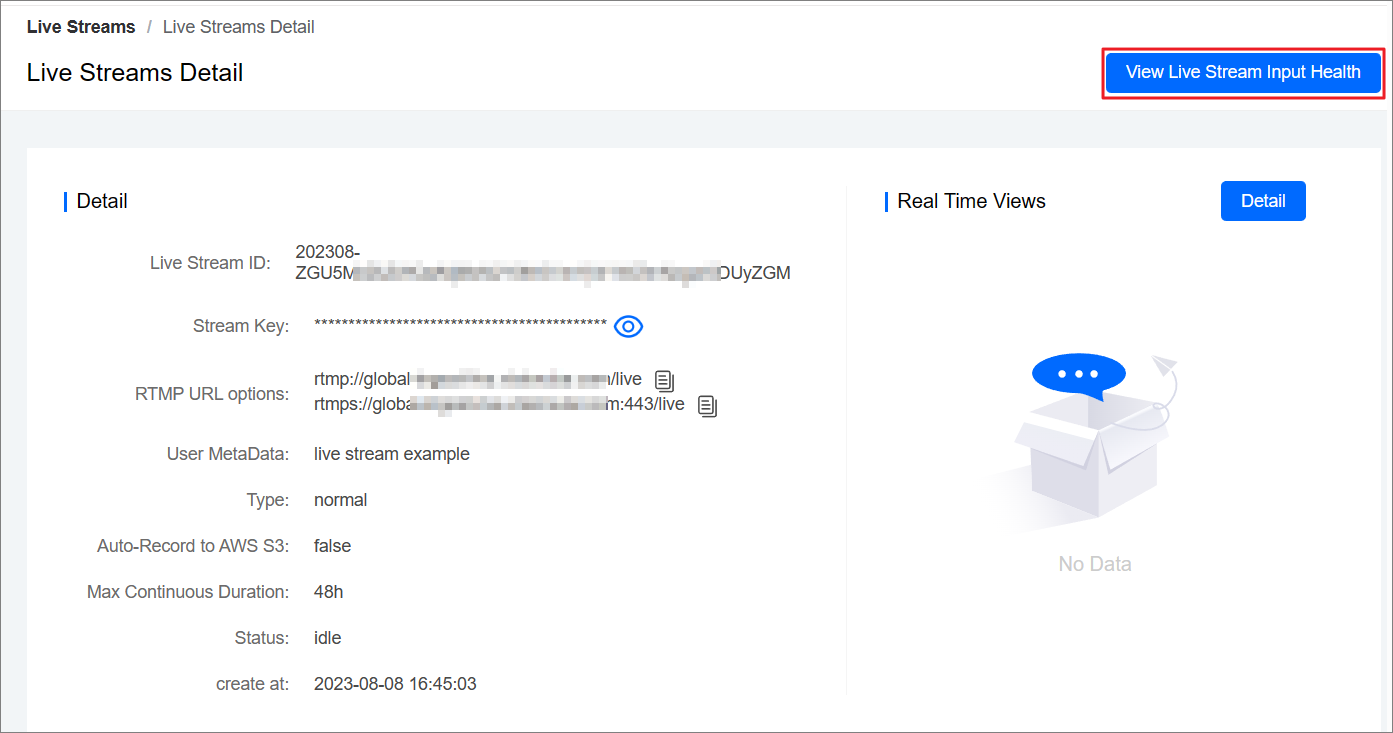
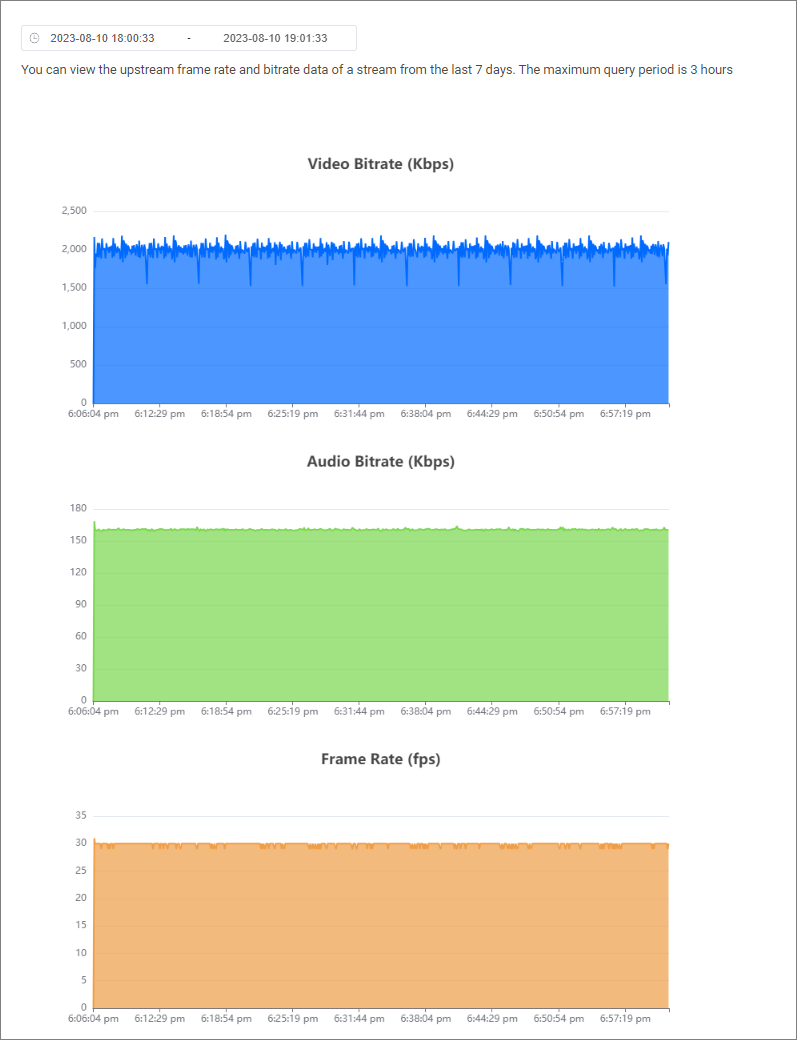
Step 4: View Live Stream Input Health
The Live Stream Input Health dashboard is a real-time dashboard that provides visibility on how AuroraLive receives your live stream from the encoder.
Live stream Detail in the console, Click View Live Stream Input Health.