- Create an account
- Create storage bucket
- Procedure
- Result verification
- Create a transcoding task
- Result verification
This topic describes how to submit transcoding tasks quickly.
Create an account
On the console login page, click Create an account.
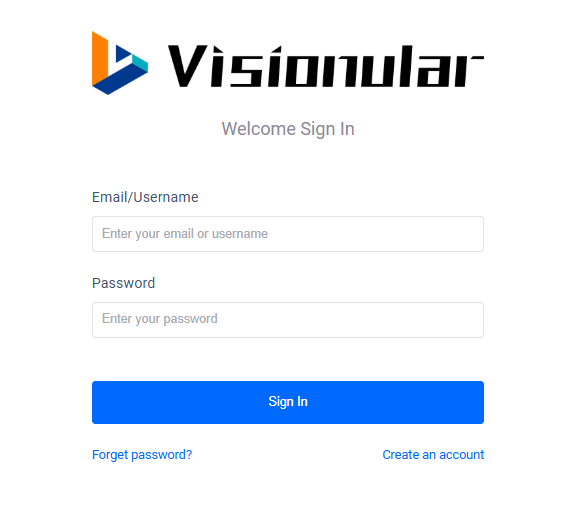
Fill in the registration information, click Next.
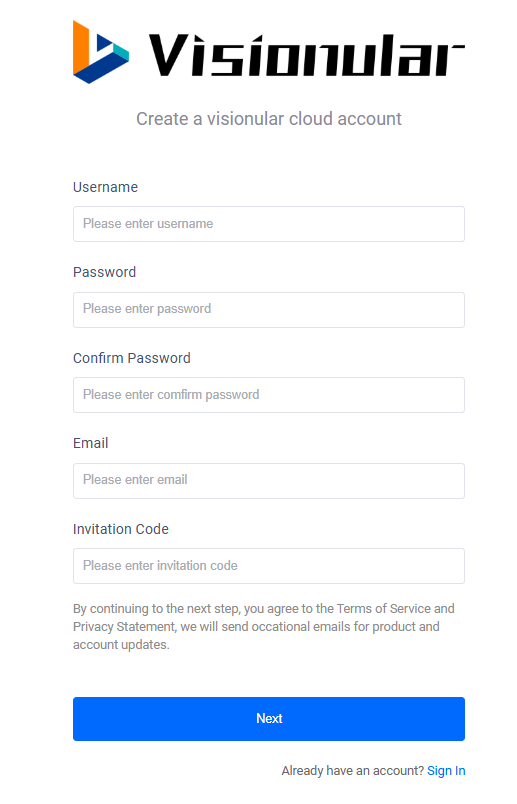
Parameters Description Required Username Account name for logging into the console. Y Password Account password for logging into the console. Y Confirm password Confirm the password. Y Email Address Email address for receiving notification emails from the service system and also for logging into the console. Y Invitation code Invitation code.
Send email to service@visionular.com to get the invitation code.Y Fill in the contact information, Click Next.
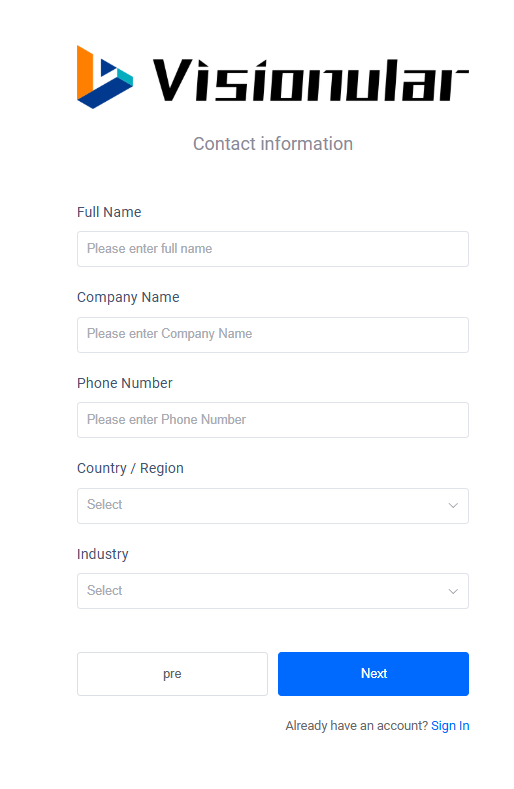
Parameters Description Required Full Name Your name. Y Company Name Your company name. Y Phone Number Your phone number. N Country / Region The country / region your company belongs to. Y Industry The industry your company belongs to. Y Verify your email address, and activate your account.
i. Access to the e-mail that you you configured when you registered your account.
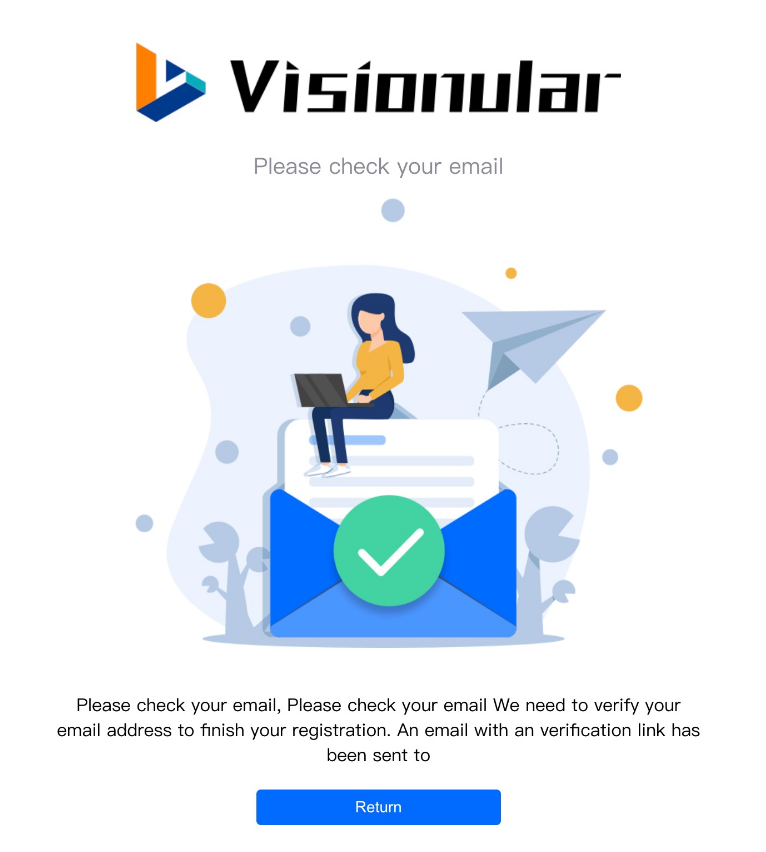
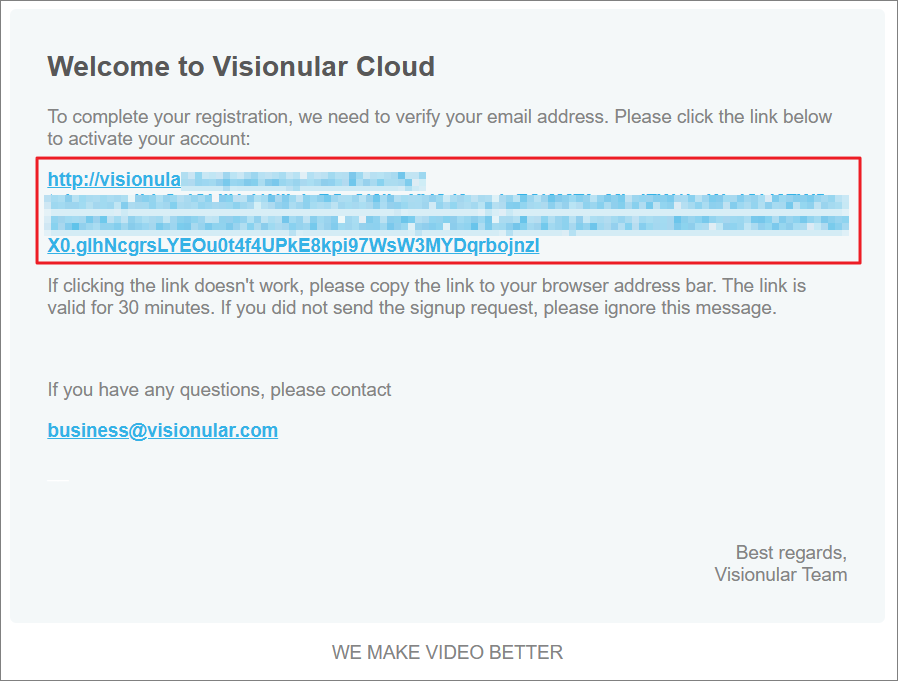
ii. Click the activation link to activate your account.
The web page will automatically jumps to the AuroraCloud VOD console and the account is activated successfully.
Create storage bucket
Add your own storage bucket in the AuroraCloud VOD console is needed if you want to store the output files in your own storage bucket.
Procedure
Log in to AuroraCloud VOD console.
In the left navigation pan, choose Outputs.
Click + Create a output.
Enter the storage related parameters in the Create a output dialog box.
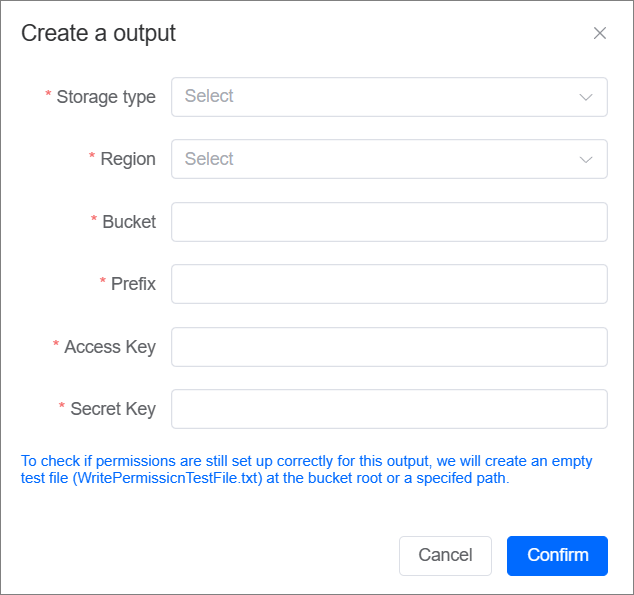
Parameters Description Storage type The name of cloud storage service.
Currently, AWS S3, Ali OSS,Tencent COS and Ksyun KS3 are supported.Region The region where the cloud storage service is located. Bucket The name of your storage bucket. Prefix The prefix of storage bucket path. Access Key Accesskey ID of your storage bucket. Secret Key Accesskey Secret of your storage bucket. Click Confirm.
Result verification
On Output storage page, you can see the storage bucket just created.

Create a transcoding task
Log in to the media process service console.
In the left navigation pane, choose Tasks.
Click + Create a New Task.
In the Input area, configure the input information.
AuroraCloud VOD supports three ways to configure the input parameters. Choose one of the following ways as needed.
Click Video Url, and enter the video URL in the Input file text box.
Click Upload Url,and upload local video file。
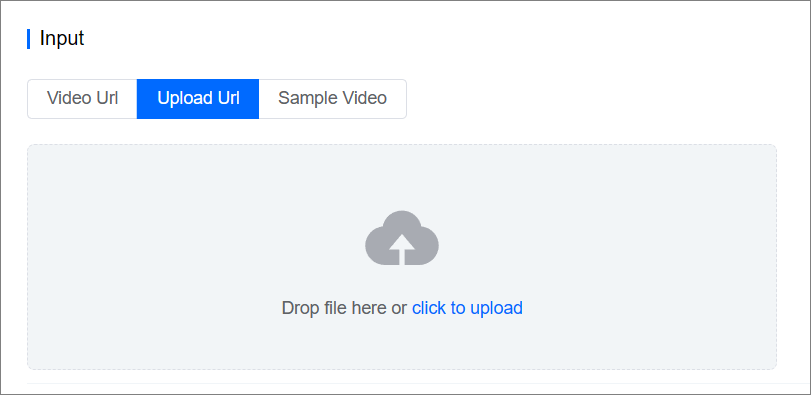
Click Sample Video, select one of sample videos from Sample drop-down list.
Select the transcoding template in the Template area.
i. Click Select.

ii. Select the transcoding template type and the corresponding target template, and click Submit.
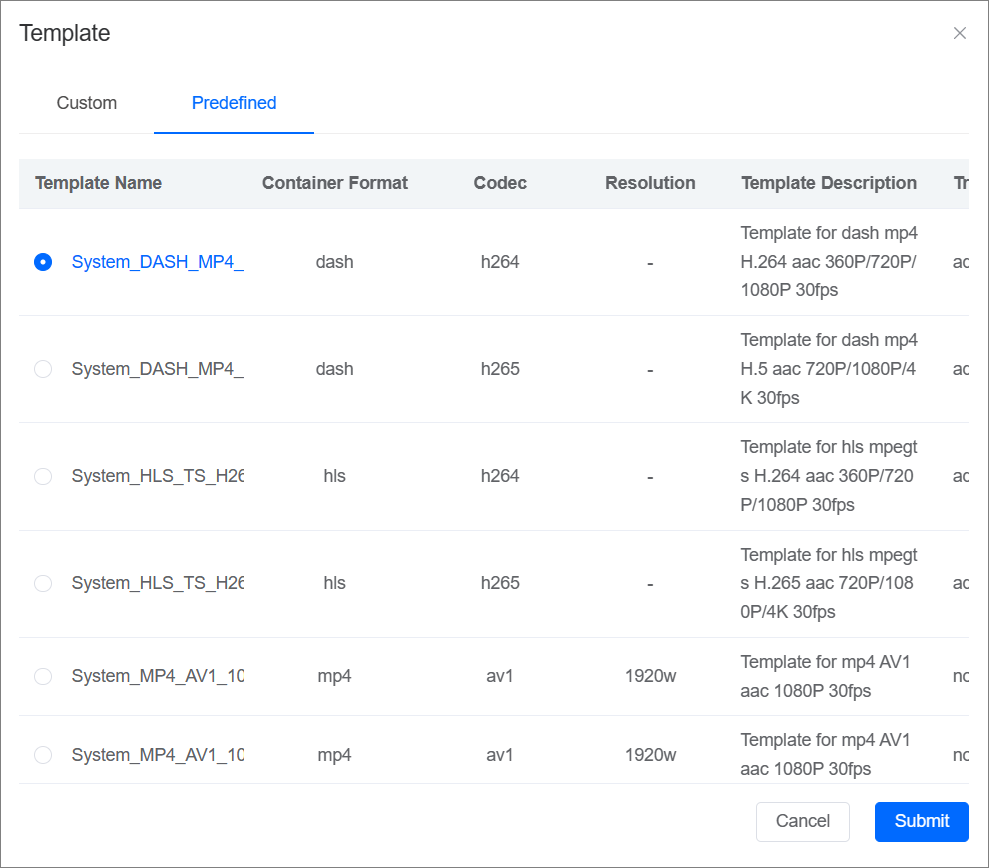
Parameters Description Template Type The type of transcoding template, value: - Custom: customized templates.
Note: If the preset templates do not meet your requirements, you can create a customized transcoding template. - Predefined: preset templates.
Template Template Name The name of transcoding template. Container Format The format of output video. Codec Encoding standards. Resolution The resolution of output video. Template Description The Description of template. Trans Mode Trans mode, value: - adaptive
- normal
- Custom: customized templates.
Select the storage bucket for output video in the Output area, and set the file name of output video.
i. Click Select.

ii. Select the storage bucket and click Submit.

iii. Enter the name of output file in the Output Filename text box with file extension.

Click Create to create transcoding task.
Result verification
On the Tasks page of AuroraCloud VOD console, you can see the status of transcoding task just created. It is successful when Status column shows succeeded.
